Chalk Paint Furniture – 5 Easy DIY Videos for Modern and Old Furniture
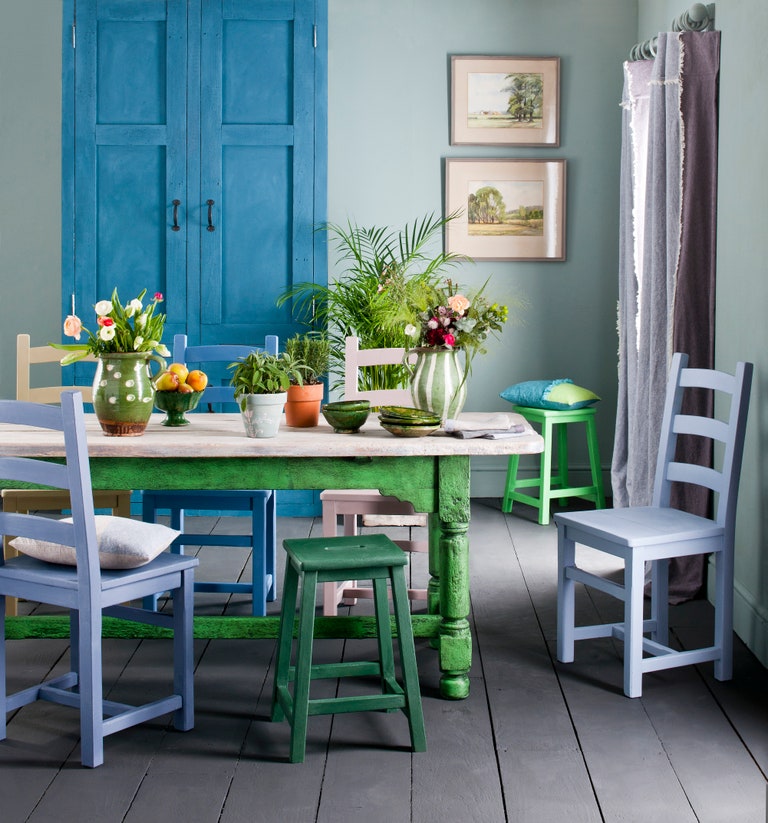
Chalk painted furniture is a great home decor technique you can add to any decor style.
Chalk paint, like milk paint, is incredibly popular because its versatile, easy to apply and gives old furniture with beautiful bones, a new life.
And with the popularity of chalk paint and milk paint the price of both paints for premium brands has gone up and retailers are copying the DIY look with great success. But if you love the look, it’s relatively easy to copy without paying hefty prices.
Source: Pinterest
It may not come out exactly the same as the store bought item or the photo on Pinterest, but in a way that is both the beauty and uniqueness that the process. You have created something different and unique.
Your look will depend, not only on the colors you choose and how you apply your wax, but also the piece of furniture you paint. Plain pieces will show off their sleek modern lines, while pieces with delicate wood work will look soft, older and almost antique.
Chalk Painted Furniture – Painting Techniques
Chalk paints can be expensive to buy, and they have different shelf lives, and even application and distress qualities.
If you are interested in making your own, here are four recipes using latex paint with a number of different ‘chalk’ additives including calcium carbonate, baking soda, plaster of Paris or unsanded grout. Each one has different qualities but at a fraction of the cost you can afford to update and distress your hand painted piece often.
You may not get the exact color match of some of the big brands but with a little patience you can come close.
It shows one coat of paint being applied but don’t be limited. If the wood tones underneath are not exactly to your liking add another coat of paint, it can be the same color or you can layer it with a new color.
Waxing Furniture – Dark, White or Clear Wax
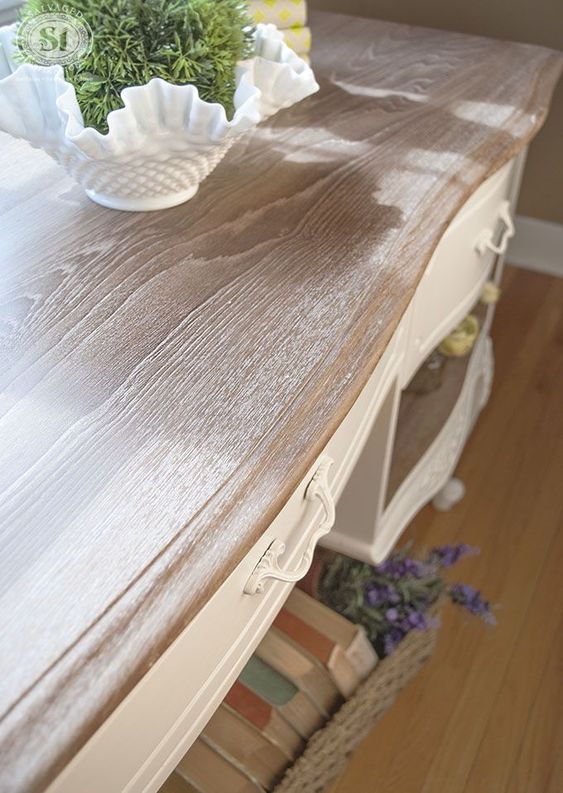
Source: Salvaged Inspirations
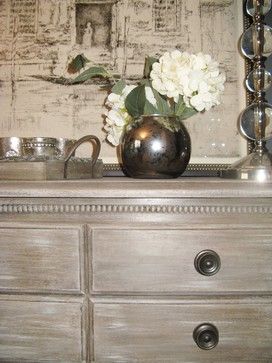
If you like a softer look for your dresser top, add white wax instead of clear or dark wax.
If you are adding more than one color to your piece for a layered, more interesting look, add clear wax between the different colors. This will keep the integrity of the colors and not muddy them and let the colors underneath peek through nicely.
Modern Medium
Source: Apartment Therapy
The matte finish of chalk paint is a modern take and it works well, especially if you want to update bedrooms or kitchens without a full remodel.
One color is generally all you need or you can simply layer your paint colors using long strokes for them to blend together as they dry.
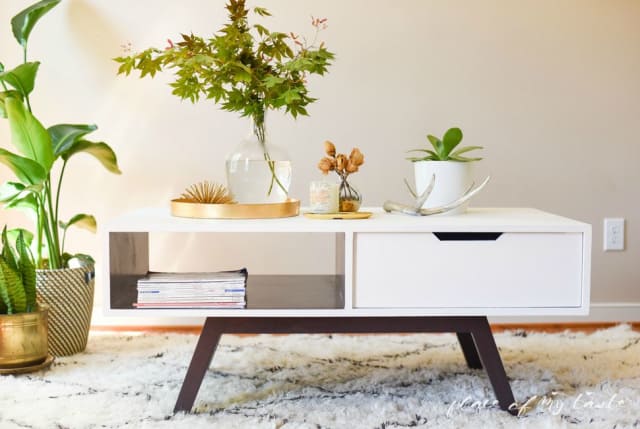
If you don’t want the colors to blend or bleed through, then adding wax will protect them. White or clear wax is the best choice for modern pieces.
Source: Place of My Taste
Having Wood Peek Through
Source: Architectural Digest
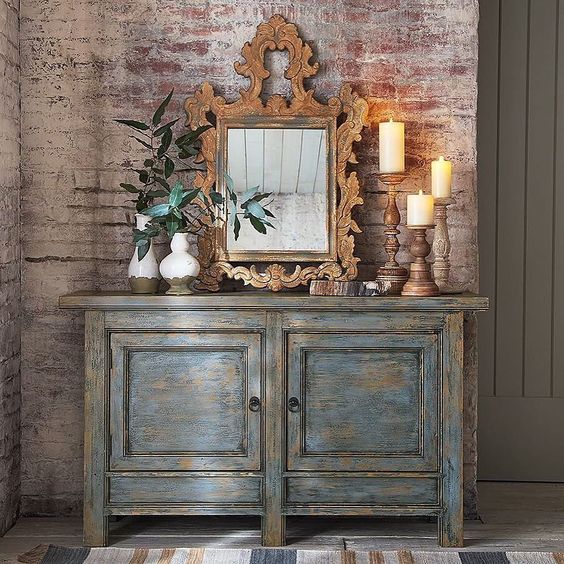
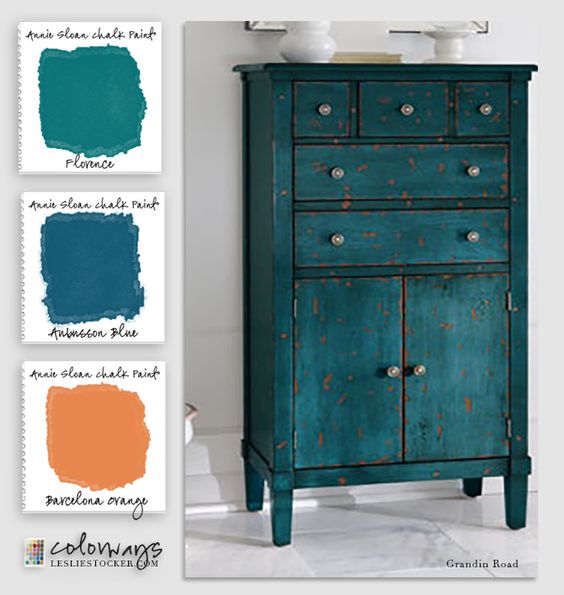
Chalk paint furniture using orange or burgundy as your first color to imitate the look of wood peeking through. This is ideal if you want a distressed or even chippy look.
Source: Grandin Road
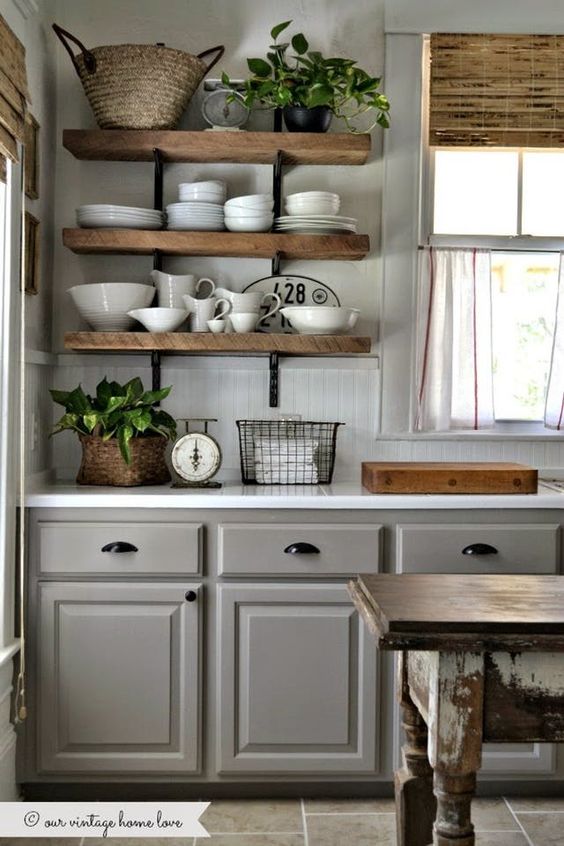
When layering paint colors add the darkest color first, lightly and without perfect full coverage. Add your second (and third) colors, then do a final touch up with long, light strokes until you are happy with the result and then finish with wax.
Source: Houzz
Below is another great tutorial on how to wax your painted furniture once you have hand painted it with chalk paint. It’s fast and easy when you know how.
Waxing protects your pieces and creates a wonderful luster. Waxing is perfect for pieces that are in wet areas like kitchens and stops water marks, coffee and other stains. Here is a video using white wax.
And the last two videos are all about applying, with a DIY wax too that can protect and give your piece a beautiful finished off look. The first video is Annie Sloan showing how to apply her dark wax.
Your waxes really come into their own, adding protection, an aged look in all the curves and crevices and give your piece character. Chalk paint furniture, then add clear wax, followed by dark wax has a beautiful smooth finish.
If your wax looks too dark, add more clear wax, to soften the dark wax and remove it with a soft cloth. This creates a beautifully aged look and worth the time and effort.
