Roller Blinds – Rockstar Blinds using Stencils
How to Use Stencils on Roller Blinds
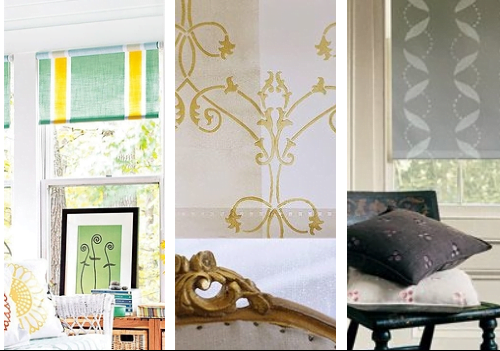
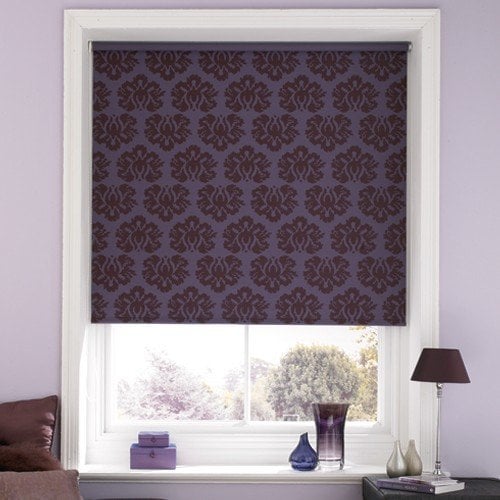
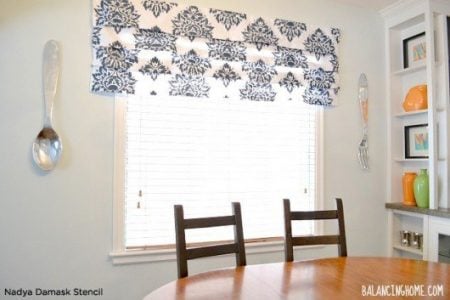
Stencils are a great way to update you roller blinds; kitchen, guest room or patio. They are a great home decorating tool to quickly give your room a Rockstar look.To update them, you can use hand made or bought stencils or even simple masking tape, add some color and get yourself a new look.
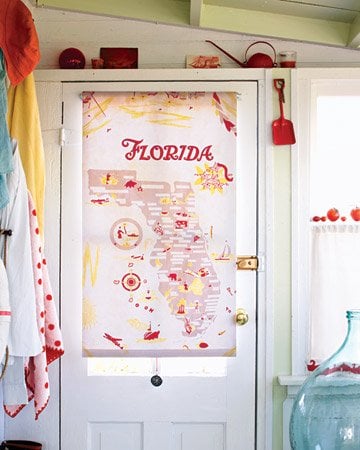
Source: Pinterest
You can stencil new or old roller blinds and transform your window treatments. Fabric or plastic; you’ll be amazed how good they look!
Roller blinds, complete with cords, roller and spring mechanisms, are available in kits in a good range of standard window sizes and even include instructions in you need to cut them down for your window size.
Unfortunately, kit roller blinds can look a little mean and plasticky, even if you have curtains hanging either side. And most blinds end abruptly, just below the batten, often without any detail or scalloped edges.
Stencil: Amazon
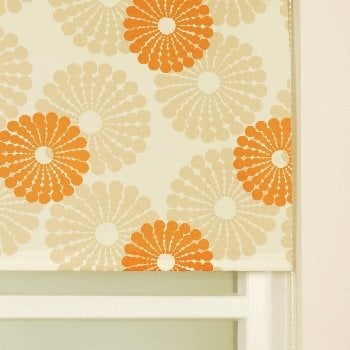
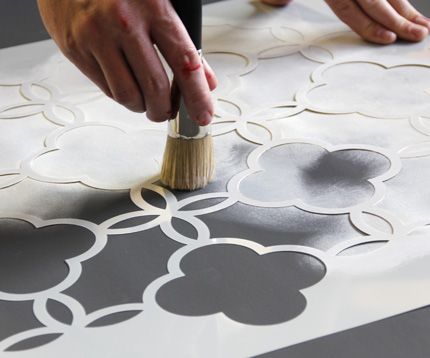
But they are perfect to add a cool stencil with paint colors that match your decor. Use a stencil brush, and in a couple of hours, you will get an altogether different window look; uniquely customized to your own taste and home decor.
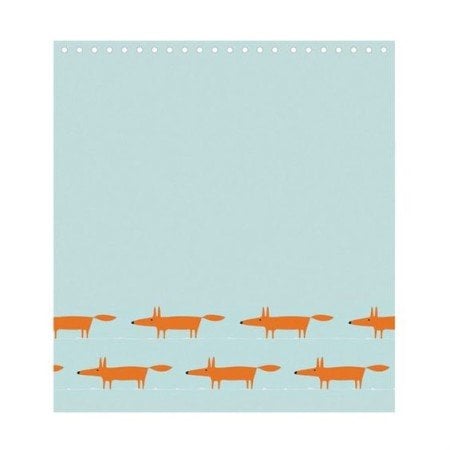
Even if you make your own curtains, roller blind kits are so cheap it seems crazy to make your own. The cheapest roller blind on Amazon, as I write this, is reduced down from $8.99 to $4.69. Just click on the image to visit Amazon for a greater selection.
Roller blinds are so inexpensive and easy to install that you could use this idea to home decorate for different times of the year; like Christmas, Valentines Day or even Birthdays using a cool stencil.
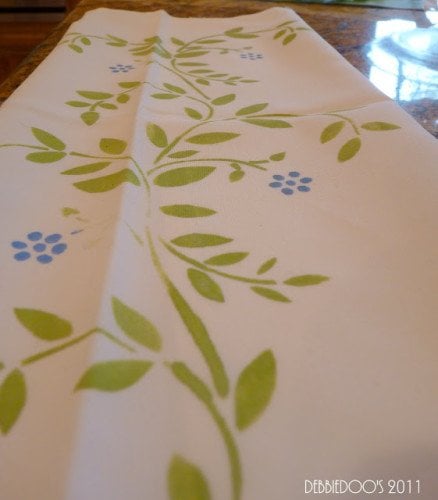
You can even create some linen napkins to really create a Rockstar look. Here’s a great tutorial for DIY hand painted napkins from Debbie-Debbie-Doos.
Tip Number One – Roller Blinds – Spare the Paint!
The trick to upcycling your roller blinds is to use your stencil paint very sparingly, so it remains transparent, otherwise, whatever colors you choose will simply register as dark on light.
Upcycling Roller Blinds – Materials You Need for Your Stenciled Blind
Wall Stencil Marrakech Trellis – Lg – Reusable stencils for DIY decor
You need very few materials to create your masterpiece:
- either home made or bought stencils – use old stencils if you have any,
- acrylic tube colors,
- acrylic medium,
- a bushy brush,
- a paper plate as a palette,
- newspaper for testing colors,
- masking tape,
- ruler or tape measure,
- pencil.
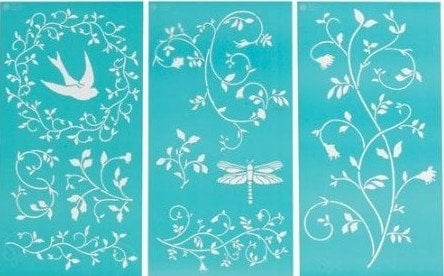
Here are smaller stencils if you don’t want an overall pattern, which you can also use on painted furniture or decorative ceramics.
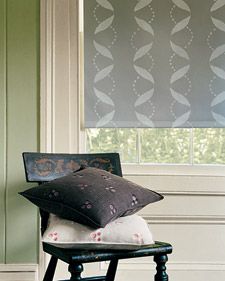
Martha Stewart 32264 Large Stencil, Tendrils
Of course, if you feel comfortable and have a steady hand, you can create your own free hand design instead of a stenciled design.
Source: Pinterest
Making It Up As You Go Along
If you are using new roller blinds, open your roller blind so its totally flat. Do this before attaching it to the roller. Check that the width is correct for your window. If not, trim it to the size you need following the kit instructions.
If you are stenciling old roller blinds, remove the roller from the blind before you do anything.
Decide how you want the stencil pattern to be seen. Is the look you want an all over pattern, as a broad stencil down the middle or arranged in stripes?
Source: Pinterest
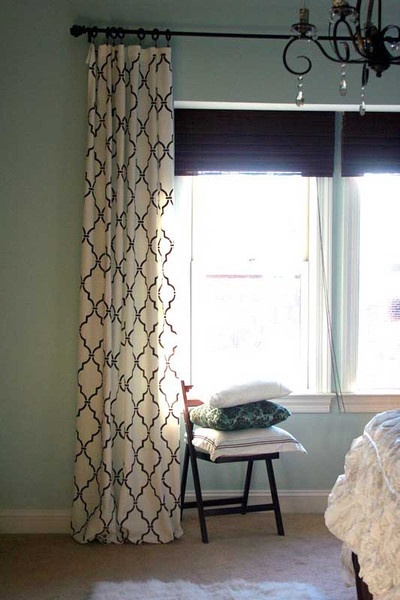
Use your wall stencils to stencil curtains as well as your roller blinds.
Remember if you have curtains, the sides of the blind will tend to be hidden behind folds of curtain fabric. You will also want to take your stencil pattern into account so your curtain fabric and stencil pattern and stencil paint colors don’t clash.
Source: Pinterest
Tip Number Two – Working Up Your Roller Blind
Work from the bottom of the roller blind up, using masking tape to keep your stencil design straight.
Source: Pinterest
Working with Column Stencil Pattern
If your stencil is a long column pattern, you need to take care that you stencil repetitions will fit across the shade.
- Measure your roller blind width and stencil width using your ruler. Leaving larger or smaller spaces between each pattern, measure out how many stencil repetitions will fit across blind. You can increase the size of your border on the outer edges of the blind if that helps your overall pattern.
- Using masking or drafting tape, create columns for your pattern. The stencil pattern should fit perfectly between each column.
- Start at the bottom left hand corner, and if you can 1 – 2 inches below shade’s bottom edge for a continuous wrapping effect.
- Use a sponge or stencil brush to apply paint.
- Allow to dry. Given the area and paint, it shouldn’t take more than 5 minutes.
- Move your stencil up the roller blind. Create new registration holes with your pencil if you need to. Paint and allow to dry.
- Repeat until each column is complete, flipping the stencil over (remove paint first) so your stencil creates a mirror pattern effect.
Don’t Lose the Plot!
Plot out the stencil locations before you begin painting. Make discreet pencil marks with the help of your ruler, but don’t over do it because the pencil marks will show unless you paint over them.
Elaborate stencils may need to be fixed with tabs of masking tape while you work, but simple ones can be held in place with your free hand.
If you prefer, you can work freestyle, using your eye and masking tape to keep the plumb line straight.
Making It To The Border
To paint a colored border around the a roller blind –
- position the masking tape a few inches or centimeters from the one, two or three visible sides,
- brush paint color up to each edge of the blind and
- leave the paint to dry before peeling off each piece of masking tape.
Tip Number Three – Making Your Own Stencil from Paper Doilies
If you can’t find a stencil you love, paper doilies make charming patterns, like fine china. You could even copy blue and white china pattern. Shades of blue on white give a chic and instant blue and white effect. Or paint one stencil white and the next one blue.
You may need to strengthen the doilies with a lick of varnish or shellac, and a quick spray of glue on the back to keep you designs in place while you paint.
Let’s Paint!
Squeeze acrylic paint colors that match your existing curtains, and wall paint colors, on to your paper plate with a little acrylic medium in the middle. This adds transparency to your paint colors and makes them easier handle.
Work a little medium into the paint colors and test them on newspaper.
When you have the tones you want, make sure your stencil brush is not overloaded; a wet brush can make a splat or paint can run from your brush down your roller blind.
Work you paint color up into the bristles while removing surplus moisture; by jabbing it repeatedly on to your newspaper.
When it prints a soft but distinct spot of color, rather than a blob, you can start on your blind.
If in doubt, try it on the top of your blind first; this part of your roller blind is hardly seen when the blind is installed.
Use words if no other pattern stirs you..
Source: Pinterest
Painting Your Stencil
When the paint color is right, begin stenciling from the bottom of your blinds. Remember this is the area of your blinds that are most visible. Use the brush in a circular scrubbing motion for a clear, even print. Leave them to dry and then hang! It’s as easy as that.
